So, you’ve looked around, found a few security cameras that fit your budget. On top of that, they look pretty cool as well. But one thing bothers you. How the heck you’re going to install them?
If you’ve never mounted cameras, drilled holes in your walls, this may seem intimidating. Assuming you’re still going the DIY route, we’ll discuss a step-by-step process of installing these cameras yourself.
While you can always choose a professional to do it for you, it’s arguably more fun to just do it yourself. If you have a few tools at hand, this won’t be too complicated at all.
Section 1: Gathering Materials
First, make sure you have all the necessary materials and tools before proceeding with the installation. It’s always best to plan ahead a little than scratch your head later.
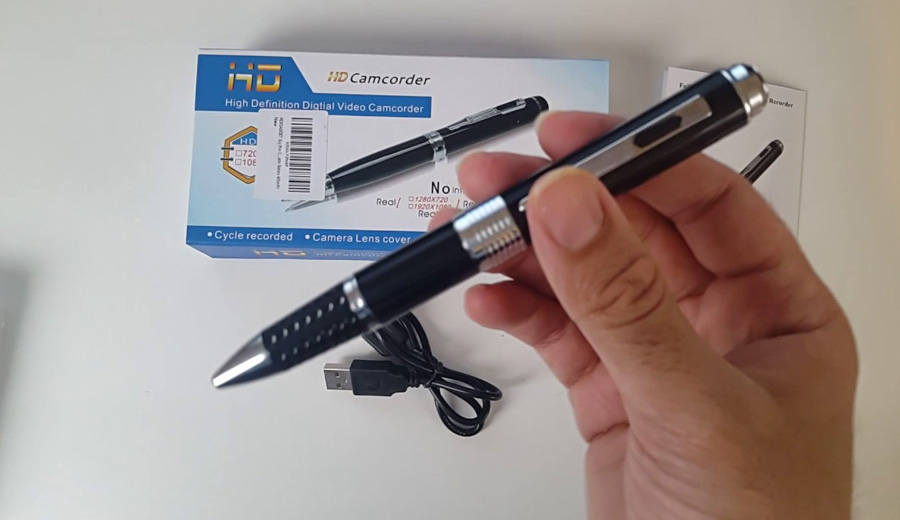
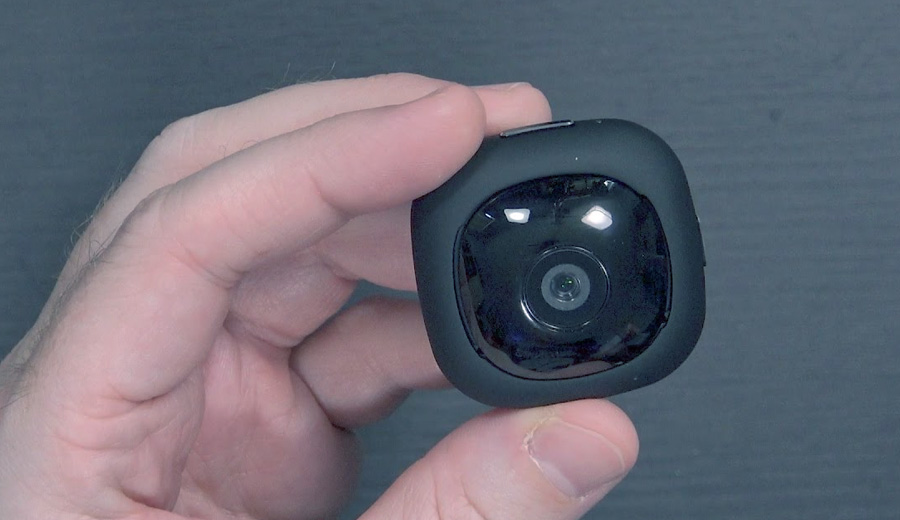
1. Wireless Spy Cameras: You got your cameras, right? All the cables (if wired) and any other accessories are here.
2. Power Source: Make sure that you have your power adapter or battery.
3. Central Hub or Recorder: Ensure that you have a hub, control panel or storage for your system. Basically, where the data will go to?
4. Wi-Fi Router: The use of a reliable Wi-Fi router with internet access becomes crucial for distant monitoring.
5. Mounting Hardware: To fix the cameras securely, you will require screws, anchors and brackets.
6. Working Tools: Such as drill driver, possibly SDS-drill for drilling through concrete if it’s outside mounted cameras, some wire to carry cables through, etc.
7. Computer: At times, an initial setup requires the use of a PC. Sometimes a tablet or phone is not enough.
8. Mobile App: Download manufacturer’s mobile app for your camera system and test if it works prior to the installation.
Once you’re confident that all the necessary tools and items are at your disposal, it’s time to think carefully about where and how you’re going to install the system.
2: Planning the Installation
If you fail to plan, you plan to fail. Heard that one before? Proper installation requires planning ahead. Take the time to consider the following aspects:
1. Camera Placement: Choose which areas you want to monitor. Consider gateways, critical rooms, and weak spots. Take into account such issues as lighting, possible obstacles, etc.
2. Power Supply: Make sure there is a power source where you’ll connect cameras to. Or check that battery-powered cameras are fully charged and working.
3. Wi-Fi Signal: Confirm the Wi-Fi signal strength at each camera location. It can cause connectivity problems and relocation may be necessary.
4. Hidden vs. Visible Cameras: Determine whether you wish to keep your cameras concealed, or if they should also serve as a deterrent. Depending on what you want, each has its own benefits and will dictate where you’re going to place them.
5. Camera Angles: Position cameras so that they capture full view that you need. Tilt them, turn around to find the right spot and good coverage.
3: Mounting the Cameras
After planning for installation, next step is to mount the cameras. Follow these steps below:
Select Mounting Locations: Choose locations for your cameras based on your planning. The corners of the house, places in your room.
Mounting Height: Mount the cameras at an appropriate level for capturing your intended field of view. Indoors, on top of a bookshelf, corner of a room is a good place. Outside, if course you’ll want to attach cameras below the roof or on the walls.
Cable Management: If it’s a wired camera system, fix the cables neatly and hide them. Use installation boxes outside. Inside, just conceal them properly or get wireless cameras for indoors where changing batteries won’t be an issue.
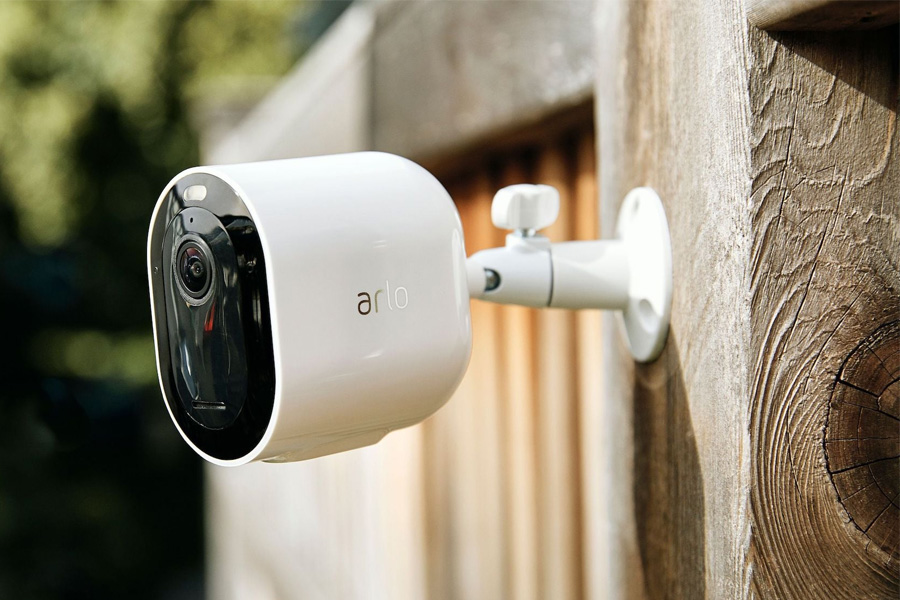
Mounting Brackets: Secure the cameras to walls, ceilings, on other surfaces by using the provided mounting brackets or hardware.
Camera Adjustment: When mounting, change camera angles for optimal visibility. Move them around until you get the right view. Look at the feed you’re getting. It’s a trial-and-error process.
4: Connecting and Configuring
Now that the cameras are securely mounted, it’s time to connect and configure them:
- Power Up: Power up the cameras. Insert battery or plug in power adapters.
- Central Hub or Recorder: In case you have a central hub or recorder in your system, link this device to the power source and the network according to its manufacturer’s instructions.
- Wi-Fi Setup: Connect the cameras to your Wi-Fi network by using the camera’s mobile app. Based on the app’s guidelines, configure Wi-Fi.
- Camera Setup: Use the mobile app or a web-based interface to access the camera settings. Settings for motion detecting, video recording mode, and notifications or alarms.
- Remote Access: Connect your mobile device with the camera system for remote access. Usually, this entails scanning a Quick Response (QR) code or entering a Unique Device Identifier (UDID).
- Testing: To verify, test the cameras and remote access. Adjust settings as needed.
5: Mobile App Setup
Your mobile device will probably be the main place for you to check your camera live feeds, as it’s always in your pocket. Here’s how to set up the mobile app:
- Download the App: Visit the app store or website on your mobile device and download the manufacturer’s app for your camera system.
- Account Creation: Create an account within the app. This usually involves providing an email address and setting a password.
- Device Pairing: Pair your mobile device with the cameras by scanning a QR code or entering a unique device ID.
- Live Viewing: Access live camera feeds through the app. You should be able to view multiple cameras simultaneously, making it easy to monitor your premises.
- Alert Configuration: Configure motion detection alerts and notifications according to your preferences.
6: Testing and Troubleshooting
After setting up your wireless spy camera system, it’s essential to test its functionality and address any issues:
- Camera Testing: Have a walk around monitored areas to make sure cameras catch the intended view. Make adjustments if necessary.
- Remote Access: Ensure you can also view camera feeds when out of the premises through your mobile device’s remote access features. Drive further with a car and check if you’re getting the feed.
- Alerts and Notifications: Trigger the alerts to verify that notifications are working correctly and you’re getting messages.
- Troubleshooting: In case of problems, refer to your user manual or contact customer support. Some of the common issues that may arise are connectivity issue, malfunctioning of the camera, app-related issues among others.
Conclusion
While it may seem intimidating at first, setting up these spy camera systems is not a big deal. If you’re willing to get your hands a bit dirty, you’re going to love the process of securing your house by yourself.
And if you decided to go with wireless camera, which are popular these days, then the process is even easier. You don’t need to mess with cables or think about wiring them through walls and ceilings.
Whichever system you choose, the most important part is to think beforehand. Plan carefully, write down what you will need, how you’re going to go about it and then execute.
Update firmware regularly and monitor for any potential issues so that it can be fixed asap to keep your unit functioning.
It’s a great feeling when you can finally take a breath, grab a beer and relax knowing the job is done and everything works as intended.