Security is vital during this time where the need to keep a watchful eye is crucial for every home and business. Because of this, surveillance cameras have become an integral part of modern security systems as they have the power to track actions of people and discourage any potential threat.
These instructions will cover the procedure in setting up surveillance cameras to enable home owners and small businesses to improve security in their houses or workplaces.
Assessing Your Surveillance Needs
It is important to analyze your surveillance requirements thoroughly before starting the installation procedure. This is done by identifying essential areas for surveillance, determining the type of cameras to be used, and selecting a suitable surveillance camera system. Planning a budget ahead of time would be wise too.
Identifying Key Areas for Surveillance
First, evaluate the setting of your house or workplace. Look for weak spots, entry points, and where valuable assets are stored. The initial assessment will help in strategically setting up cameras during the later process.
Selecting the Appropriate Surveillance Camera System
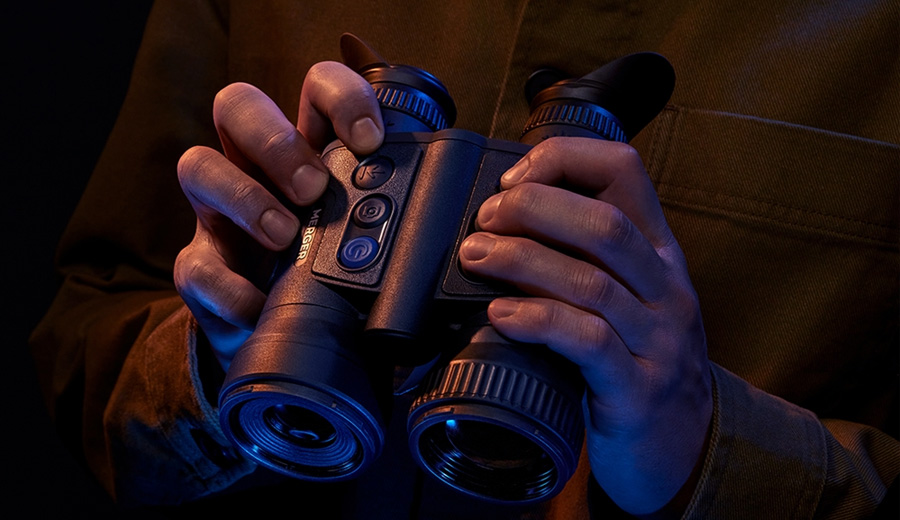
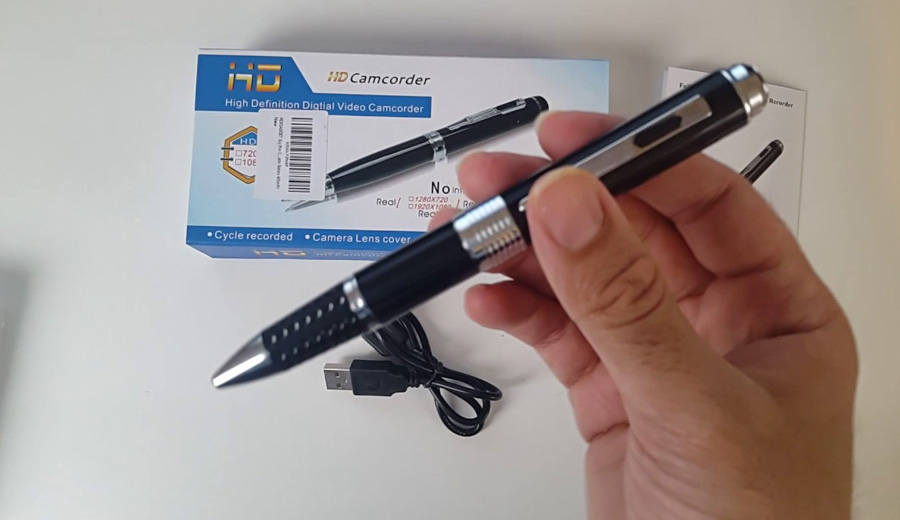
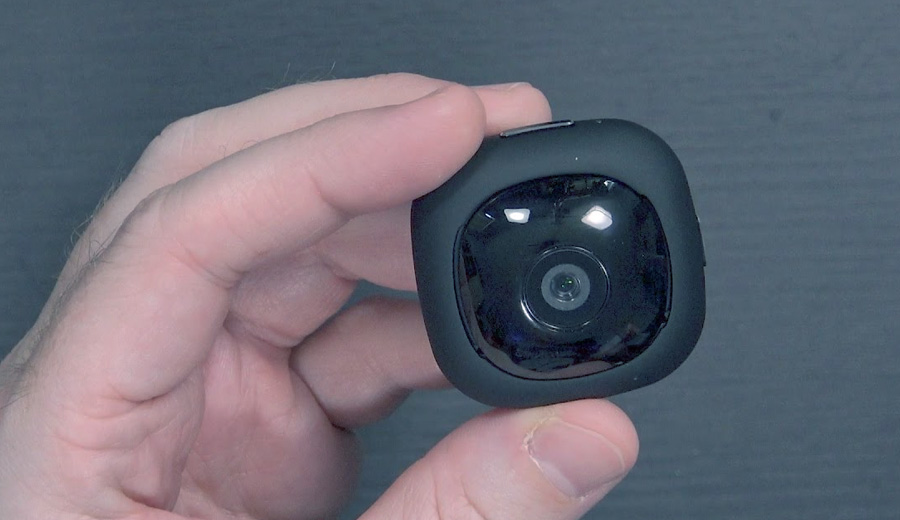
Determine the type of camera – indoor or outdoor and weigh between wired and wireless camera options. Such features as weatherproofing may be required for outdoor cameras and discrete design with easy installation for indoor spy cameras.
Choosing the Right Surveillance Camera System.
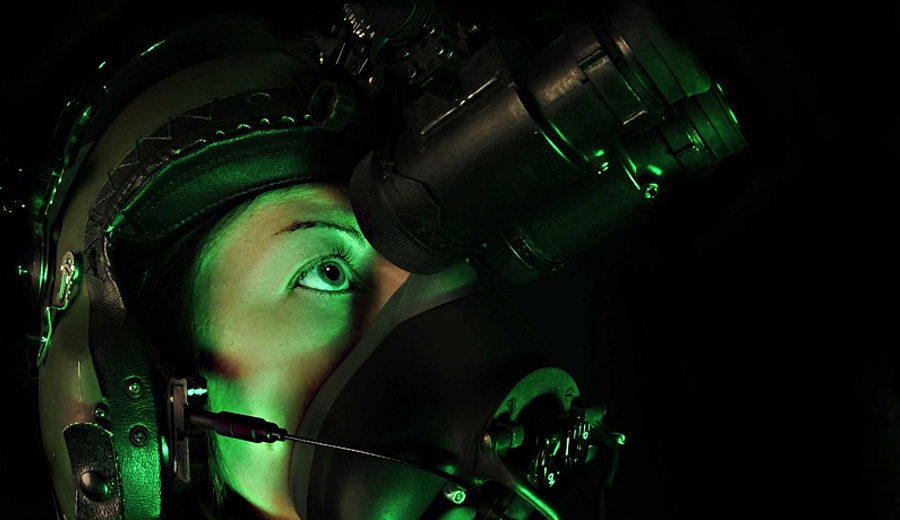
Research on available surveillance cameras with specific consideration of your particular needs. Some of these things to look out for include night vision, motion detection and remote access capability. Take into account user reviews as well as expert opinions when making a decision.
Where to Place Home Security Cameras?
Having recognized your needs and selected an appropriate surveillance system, you need to decide on the most effective places of mounting of the security cameras. Basically, where to put these home security cams?
Identifying Right Locations
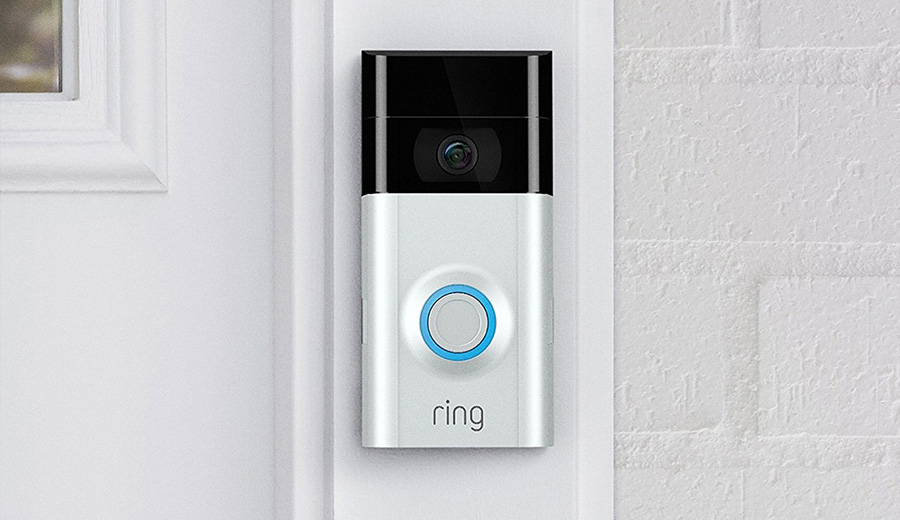
Place cameras in strategical locations that were determined during the assessment phase. Target entrances, backdoors, driveways, and high traffic areas. Thus, a carefully planned placement strategy helps with full coverage without overlaps.
Ensuring Proper Angles and Positioning
Ensure that each camera covers as wide an area as possible within its field of view. Slight angle adjustments to eliminate blind spots and provide clear vision. This step is essential for effective monitoring and threat detection.
Potential Obstructions and Environmental Factors
Consider any barriers such as trees, bushes and architectural details, which could affect camera efficiency. Also, position cameras at the right heights and angles so that they can withstand environmental factors like rain and glare.
Setting Up the Surveillance System
Position cameras and mount them on the surveillance system. The process entails mounting the NVR or the Central Monitoring Unit, power supply of cameras and configuration.
Installing the Central Monitoring Unit or NVR
Select the most ideal place for the NVR or the central monitoring center. Put it in a safe place which has an uninterrupted power supply and internet connection. Maybe special room, maybe ceiling somewhere or basement. Make sure that you properly understand and follow the manufacturer’s placement guidelines for maximum benefit.
Connecting Cameras to Power Source and NVR
For wired cameras, run power cables to each camera location. Ensure that wireless cameras are within the range of a Wi-Fi signal. Install an NVR and connect cameras to it according to the manufacturer instructions. Ensure that you check connections as this may prevent problems later.
Configuring Camera Settings, Including Resolution and Motion Detection
Get into the cameras’ settings through the NVR or the manufacturer’s software. Change the resolution settings to get high-quality videos and adjust according to the preferred motion detection. Adjust these options for the proper level of detail/storage capacity compromise.
Mounting Cameras
Having the system prepared, go on to physically placing the cameras at their determined positions.
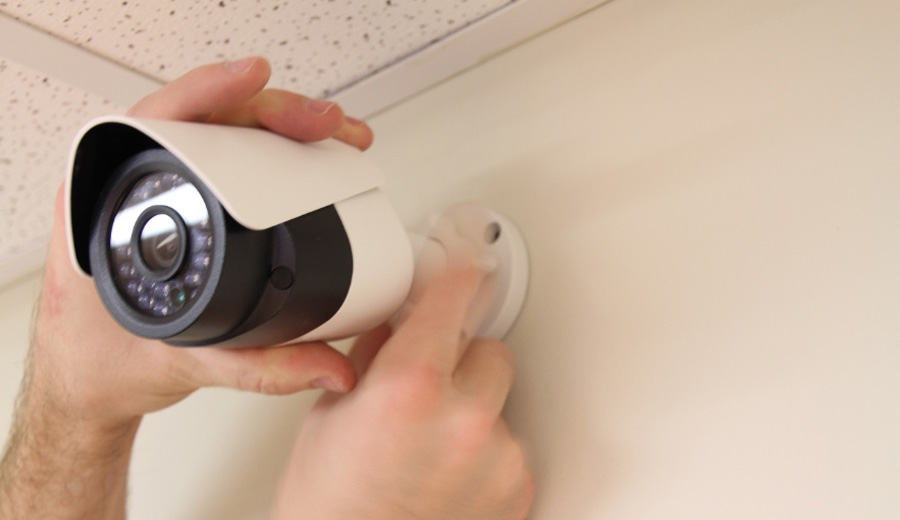
Securing Cameras in Predetermined Locations
Use mounting brackets or other suitable hardware to connect/mount cameras firmly. Place them strategically, ensuring that they cannot be altered or easily removed.
Adjusting camera angles for good coverage.
Fine-tune the camera angles for optimal coverage. To test the field of view, watch the live feed on the NVR or its corresponding app. Ensure that you make any necessary changes so as to eliminate blind spots to enable full-view surveillance.
Proper weatherproofing of outdoor cameras.
For outdoor cameras, confirm that they are adequately weatherproofed. They provide protection from rainfall, dust and intense heat. Outdoor surveillance cameras must be weatherproof for them to endure and function properly.
Testing the Surveillance System
Before relying on your surveillance system for security, conduct thorough testing to ensure everything is functioning as expected.
Verifying Camera Connectivity and Functionality
Test for the transmission of signals/videos from each camera to the NVR. Check the content and rectify the connection problems immediately.
Motion Detection testing and other Main functions testing.
Simulate a test for motion detection in the area under supervision. Ensure that system properly registers motion events. Check other features such as the night vision to make sure that everything is working properly.
Troubleshooting Common Installation Issues
Detect and resolve any problems encountered in testing. This may involve repositioning the camera, checking the connections, and contacting the manufacturer’s support. The subsequent testing phase guarantees reliable, credible operation of the surveillance system.
Configuring Wifi Access
Use Wi- Fi settings to watch the video feed on your smart phone, tablet, or computer from anywhere.
Remote access option allows viewing of surveillance footage.
Ensure that you follow the manufacturer’s directions for connecting remotely. Such process often translates to signing up for an app or cloud and connecting the NVR or cameras to the account.
Password protection and encryption for remote access security.
Establish stringent remote access controls. Use strong, unique passwords and turn on encryption to prevent others from hacking into your surveillance system.
Conclusion
Lastly, installing surveillance camera is a complex procedure that requires meticulous planning and execution. By carefully determining what sort of surveillance you require, positioning cameras in proper locations, and establishing an efficient surveillance system, you develop a strong security framework for your house or place of business.
Continuous regular system checks and maintenance will sustain optimal performance, ensuring that your investment in surveillance technology continues to safeguard what matters most.
These steps can help you as either a home-owner or a business-owner in setting up the surveillance cameras and making your environment safer and more secure.